

Description
The I2c7SegmentLed library works with Arduino, Particle and Raspberry Pi microcontroller boards and it provides many functions that make it easy to use the 7 Segment Led display modules (which use the I²C communication protocol).
- Github repository for the Arduino software library
- Github repository for the Particle software library
- Github repository for the Raspberry Pi software library
Compatible Hardware
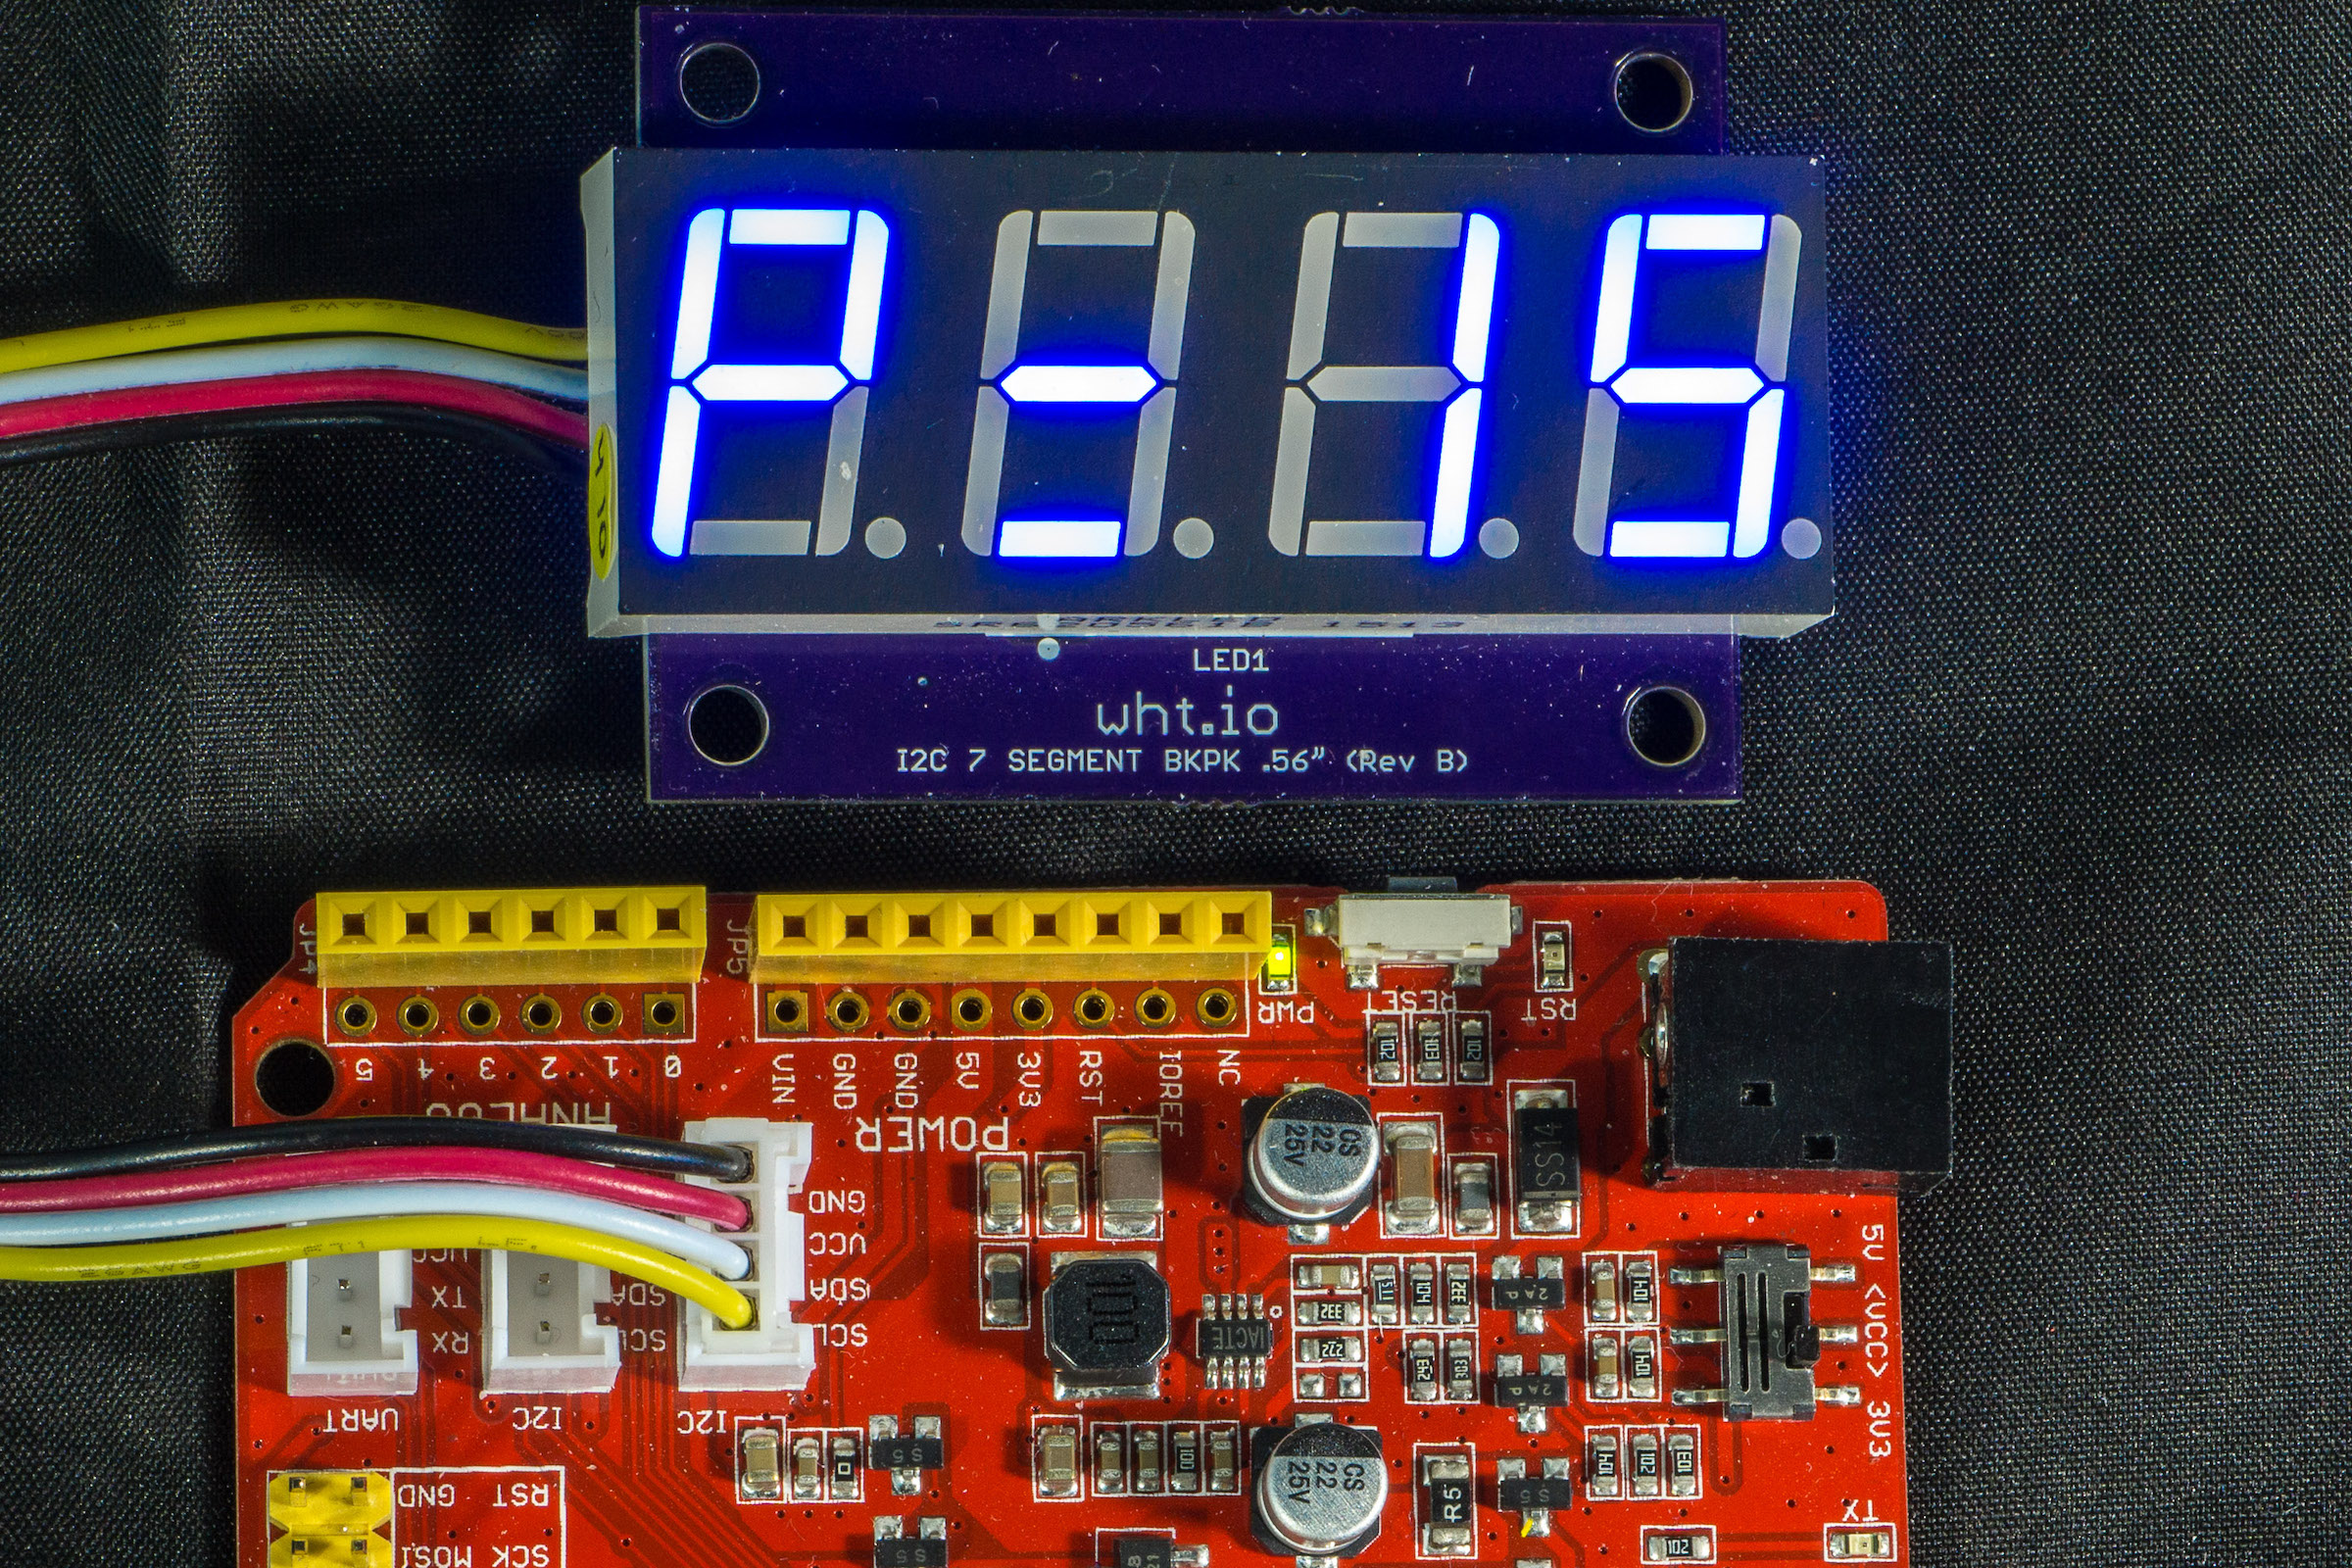
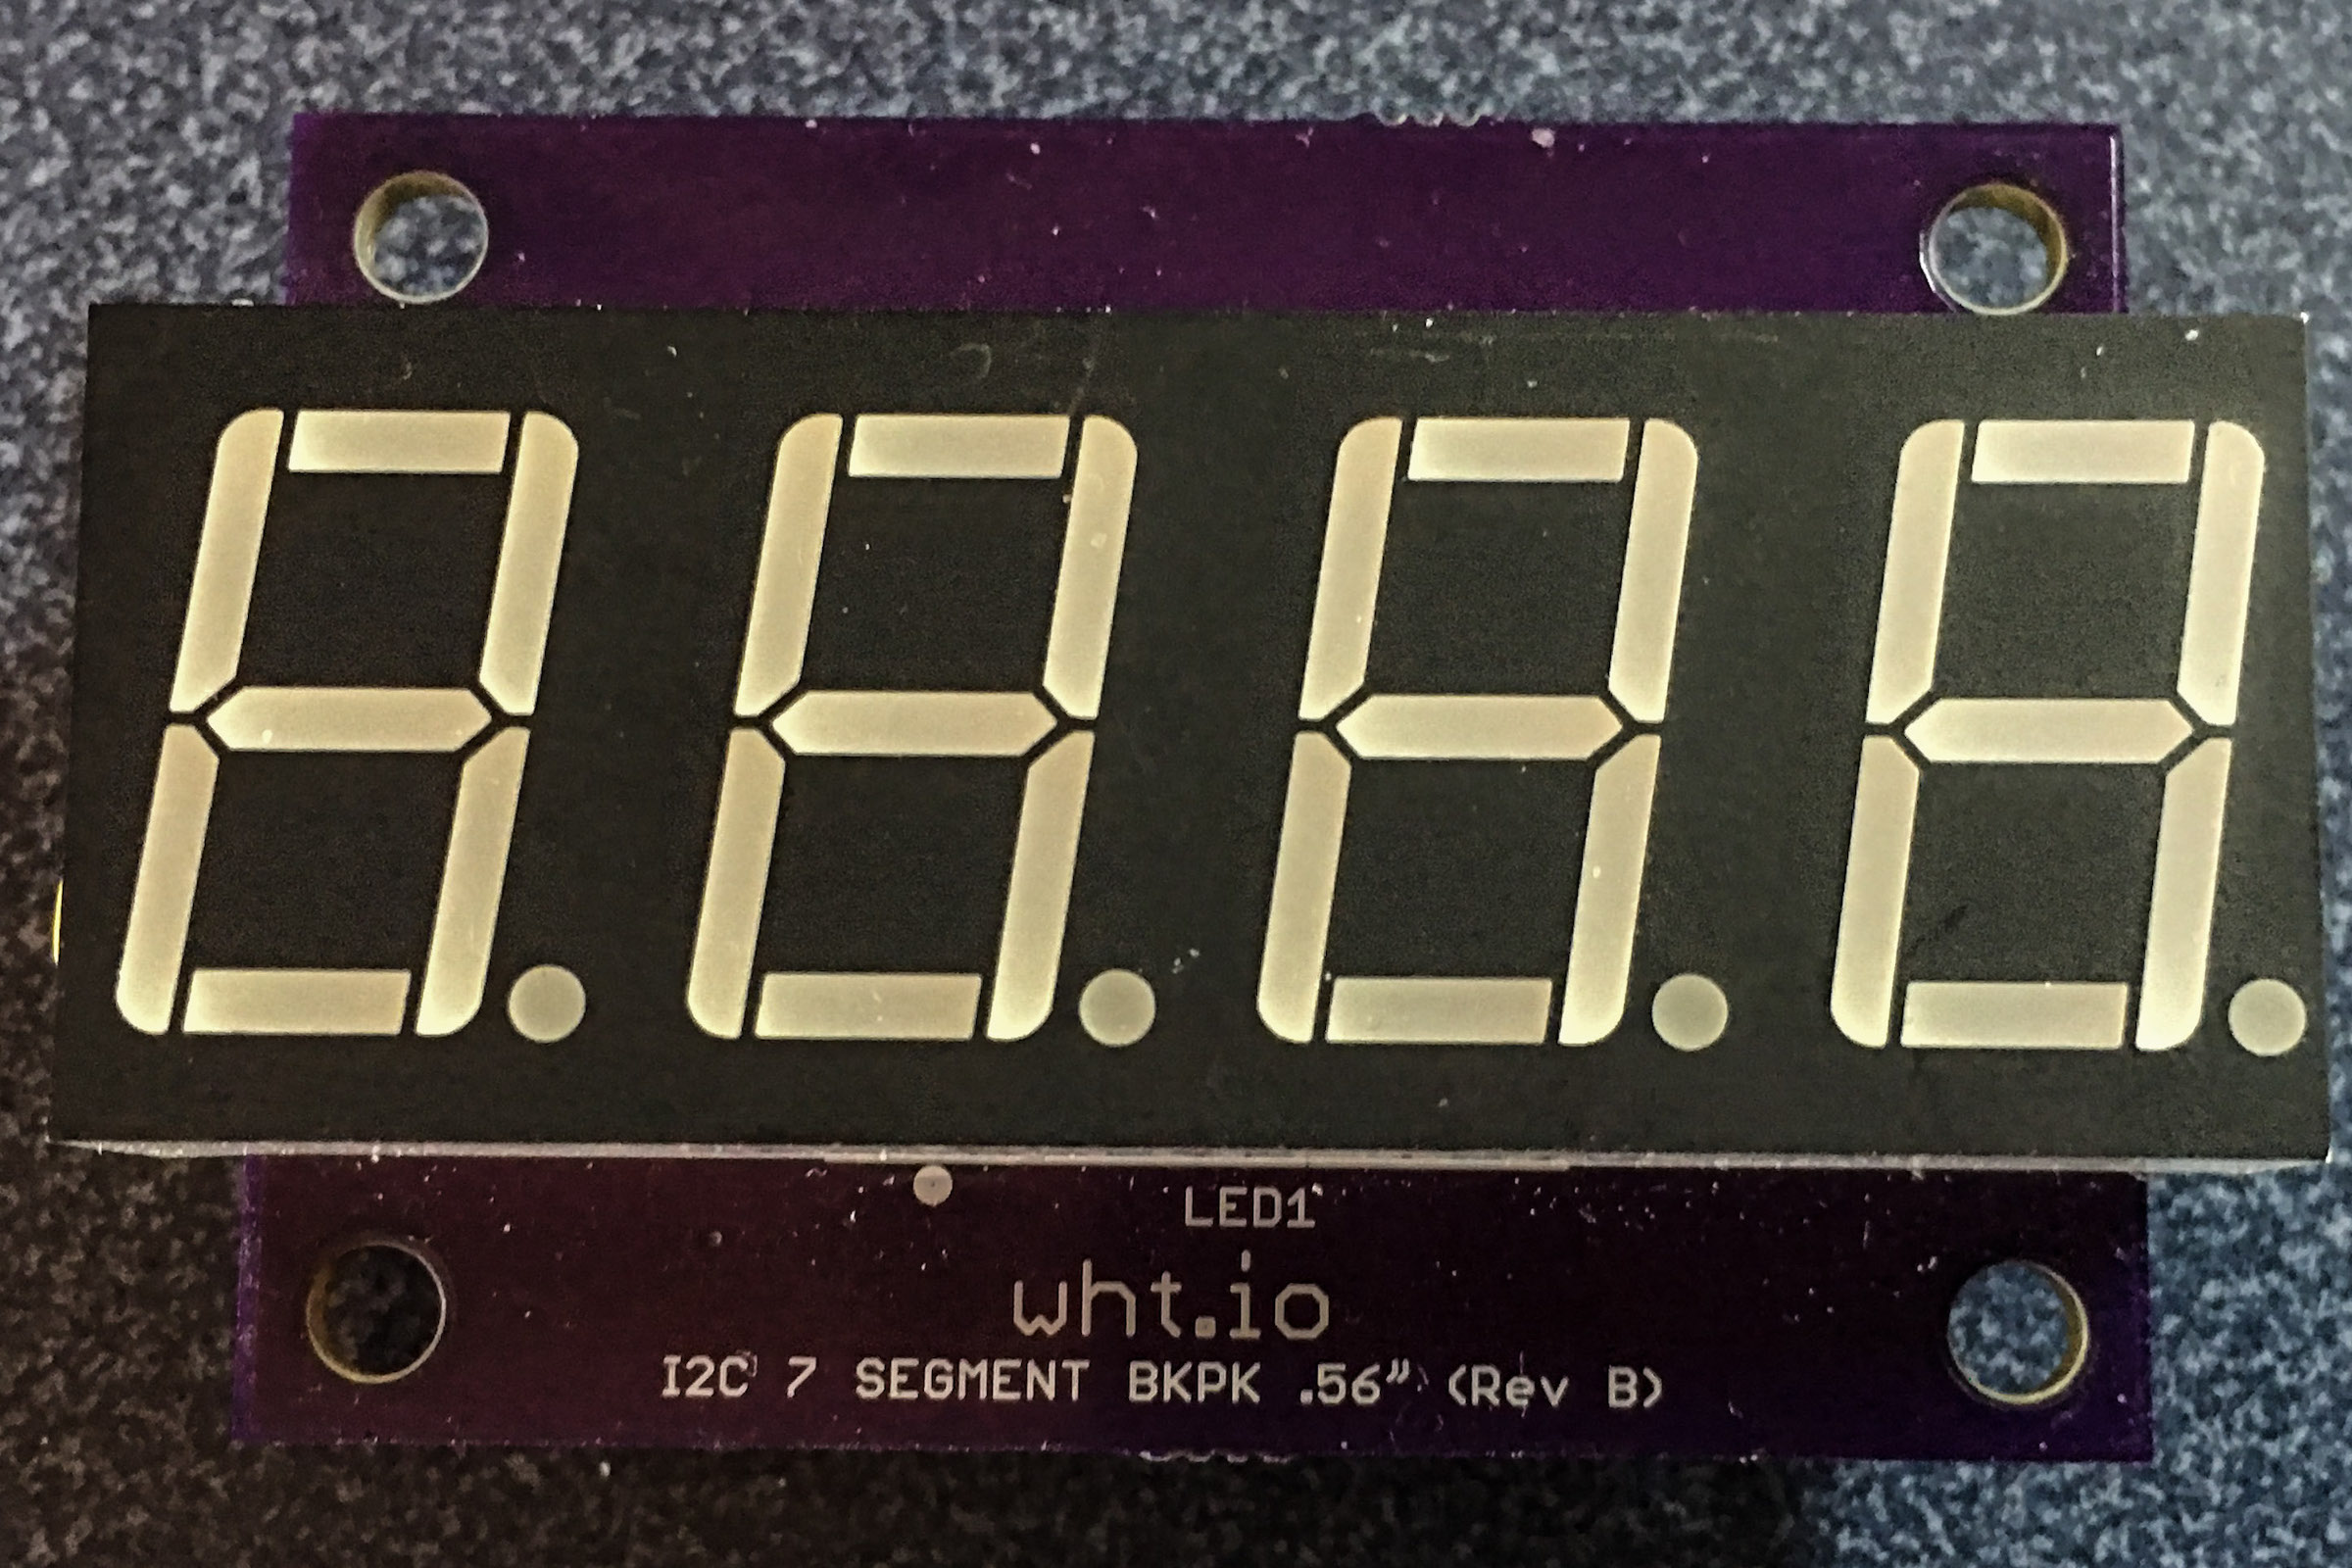
7 Segment Displays come in a variety of sizes, colors and number of digits. This library requires that
- the 7 segment LED display has from 1 to 8 digits (with 4 being a very common size).
- the LED display module must use the AMS AS1115 controller chip.
- the LEDs must be common-cathode configuration to work with the AMS AS1115 chip.
The I²C communication standard only uses 2 pins on the microcontroller to communicate with many I²C devices. This makes it easy to connect many devices (sensors, displays, motors, etc.) to a microcontroller.
The following are links to 7 segment led modules that you can build in various sizes and display colors.
Library Installation
Arduino IDE
Arduino provides several methods for installing libraries. The following is one of the easiest methods.
- Importing a .zip Library into the Arduino IDE:
- At the Github repository for the Arduino version of I2c7SegmentLed library click on “Download ZIP” button above the list of files (you may need to be signed in to Github to see this button).
- This will download the library files to your computer.
- Then in your Arduino IDE, click on the menu item Sketch > Include Library > Add .ZIP Library.
- Navigate to zip file you downloaded and open it.
- Then click on Sketch > Include Library.
- Select I2c7SegmentLed from the list, and the library files will be ready to use in your sketch.
- You will need to restart the Arduino IDE in order to use the library and see the I2c7SegmentLedDemo.ino program listed.
- To run the demo program, click on the menu item File > Examples > I2c7SegmentLed.
This Arduino library and demo program are located in our github repository.
Particle IDE
Using the Particle Web IDE
- To run the I2c7SegmentLedDemo program:
- Click on the “library” icon on the far left side.
- Scroll to find the I2c7SegmentLed Library, and click on it.
- Click on the file name “I2c7SegmentLedDemo.ino” (near the bottom left)
- Click on the button “USE THIS EXAMPLE”. This will create a new app with the demo program and the library files, which you can examine, compile or flash to a device. (Note: If you get an error saying that it can’t find the “I2c7SegmentLed.h” file, add a blank line anywhere in the demo program and recompile again).
- To add the I2cCharDisplay library to an existing app:
- Click on the “library” icon on the far left side.
- Scroll to find the I2c7SegmentLed Library, and click on it.
- Click on “INCLUDE IN PROJECT”.
- Click on the app that you want to add the library to. Click on “CONFIRM”. An “#include” statement will be added to the top of your app.
This Particle library and demo program are located in our github repository.
Raspberry Pi
- To download the Raspberry Pi I2c7SegmentLed library and demo program from GitHub, follow these steps:
- You will need the git application (if you don’t have it already). In terminal type: sudo apt-get install git-core
- Next, change to the directory where you want in save the I2c7SegmentLed library and demo program. For example, to change to your Documents folder, type: cd /home/pi/Documents
- Then download and save the library by typing: git clone https://github.com/dcityorg/i2c-7-segment-led-library-arduino.git
- Change directory to the one just created: cd i2c-7-segment-led-library-arduino
- This directory should now contain the library and demo program for the 7 segment LED (written in Python)
- To run the demo program, type: python3 I2c7SegmentLedDemo.py
- To install just the I2c7SegmentLed.py library module onto your RPi where other python library modules are saved, follow these steps:
- You will need the git application on your RPi (if you don’t have it already). In terminal type: sudo apt-get install git-core
- The following will run the setup script from our github repository and install just the I2c7SegmentLed.py library module on your RPi.
- In terminal type: pip3 install git+https://github.com/dcityorg/i2c-7-segment-led-library-raspberrypi.git
- Put the following at the top of your python program to use this library module: from I2c7SegmentLed import I2c7SegmentLed
- Installing the library module this way allows you to use it from any directory, without having to put the library module in the same directory as your own python program.
This Raspberry Pi library and demo program are located in our github repository.
Functions in the I2c7SegmentLed Library
- begin() – required to initialize the display. run this first!
- clear() – clear the display and home the cursor to 1,1
- home() – move the cursor to home position (1,1)
- cursorMove(digit) – move cursor to specified digit
- displayOff() – turns off the entire display
- displayOn() – turns on the entire display
- setBrightness(value) – set display brightness (OLED displays only)
- setDecimalPoint(digit) – set the decimal point after this digit (1-8)
- clearDecimalPoint(digit) – clear the decimal point after this digit (1-8)
- setSegments(digit, segments) – set the digit (1-8) to these segments
- setRegister(reg, value) – set register to this value
- write(char) – allows the Print command to work to print to the display (in Arduino and Particle library)
- write(char) – writes one ascii character to the display (in Raspberry Pi library)
- writeString(string) – (Raspberry Pi only) write strings and numbers that are formatted
- xxx.Print(string or numbers) (and xxx.Println()) – (Arduino and Particle only) write strings and numbers to the display (where xxx is the name of the display class)
Character Set
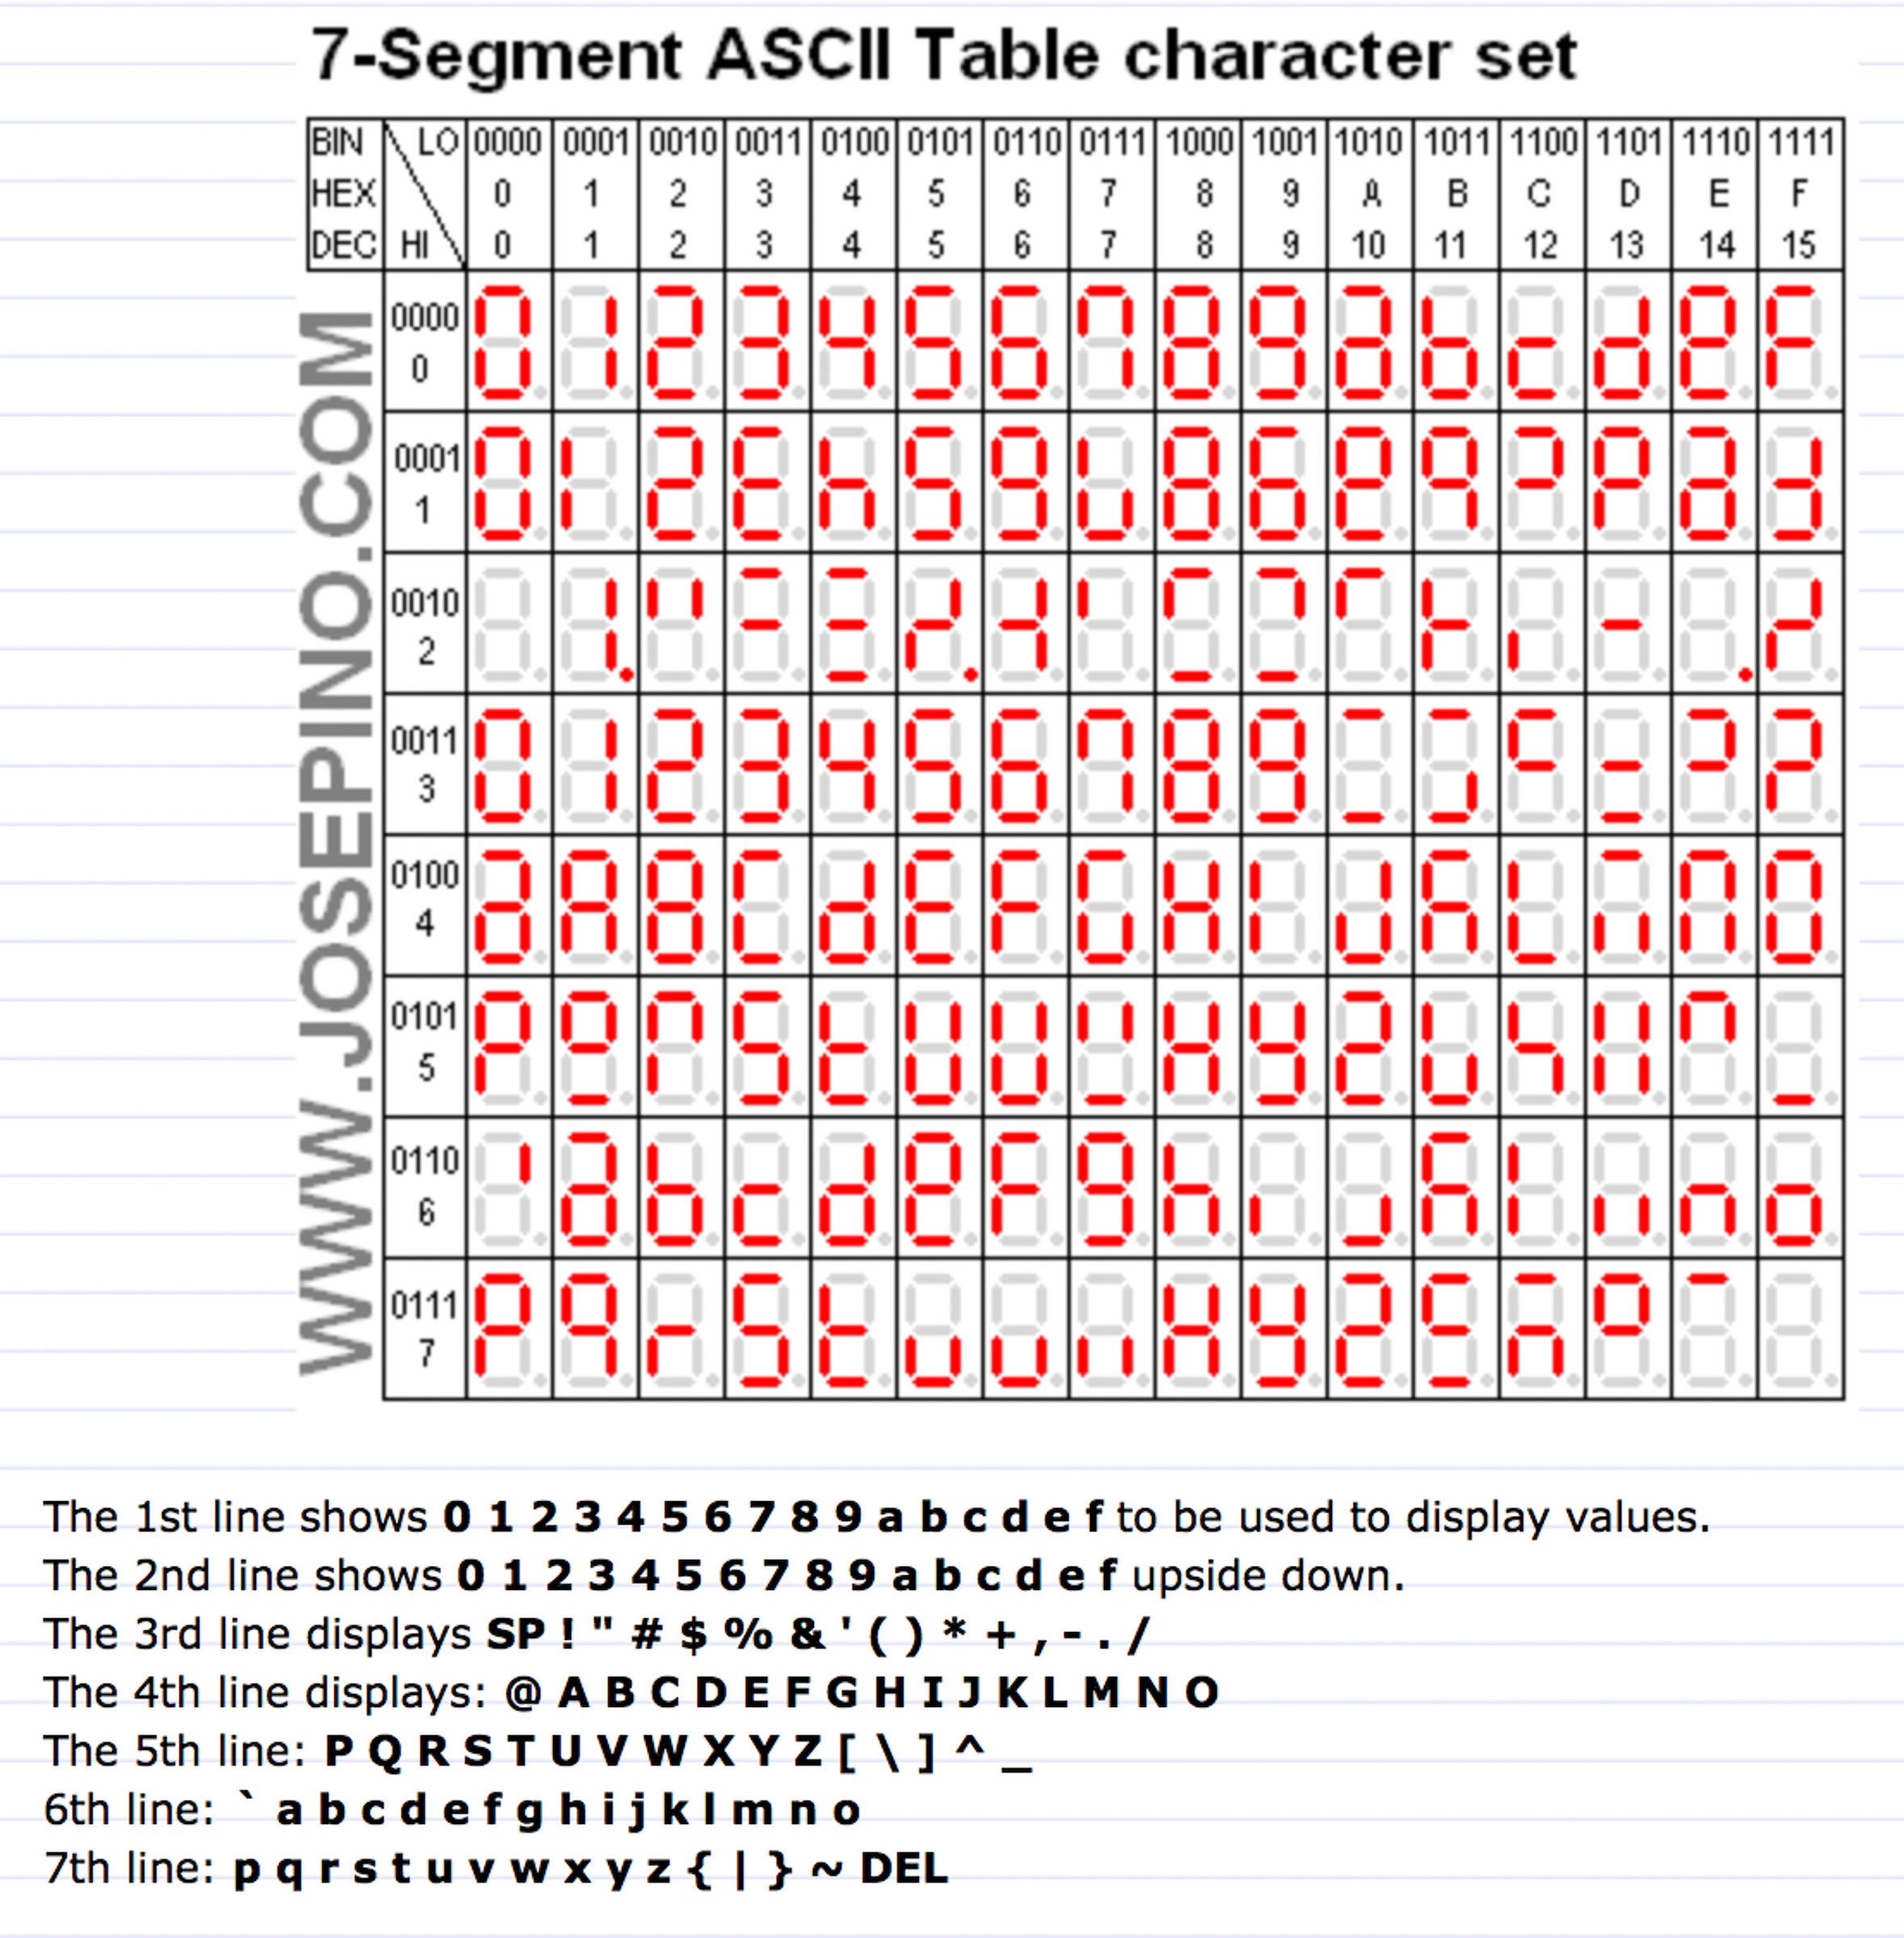
The character set that is built into the software is unique in that it attempts to display all ASCII characters (some better than others with this limited number of segments in the display). The chart below shows the display for all 128 ASCII characters.
7 Segment Character Set is courtesy of Jose Pino
License Information
Our License Information is here.